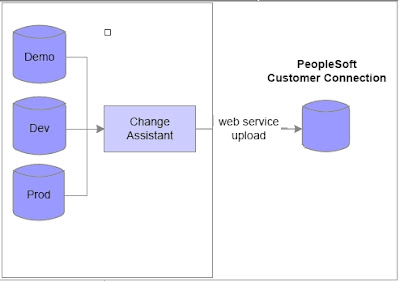
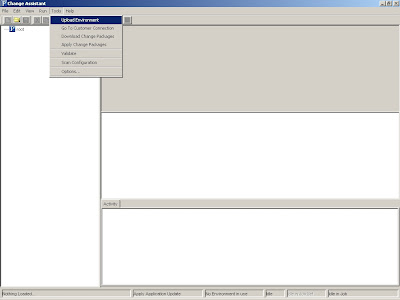
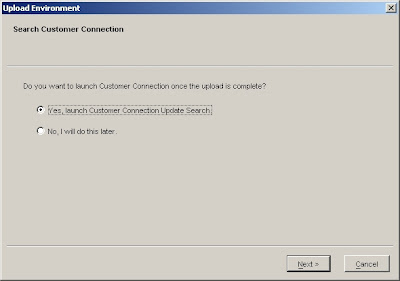
Search for Updates:
• Receives environment information from PeopleSoft Change Assistant and provides PeopleSoft Change Assistant with data required to download the correct updates to apply.
• Enables you to find out what new updates have been released for each environment or application.
• Automatically calculates what updates are needed for each environment.
The wizard has five steps:
1. Select Scope
2. Select Environment
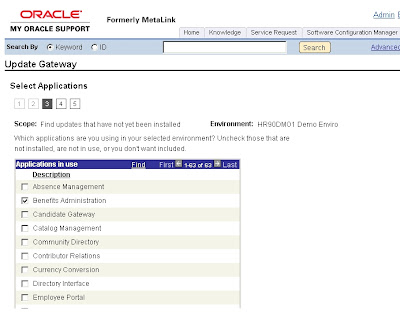
3. Select Applications
4. Select Update Type
5. Candidate Updates
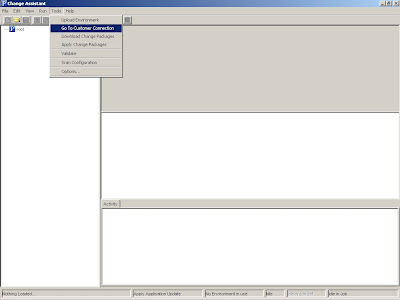

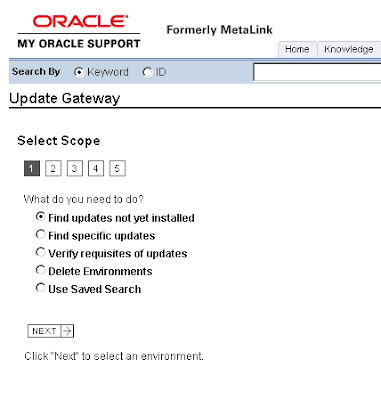 Find all updates that have not yet been installed
Searches for all updates that meet the environment and time frame criteria, including bundles, tax updates and updates required for upgrade and install. By default, this search returns the requisites of every update that meets the search criteria.
Find specific updates by Update ID
Searches for specific updates by update ID. Update IDs appear only if they match the user’s environment information. By default, this search returns the requisites of each update ID that is found.
Verify prerequisites and post-requisites for specific updates

Select an environment, then click Next; you can select only one environment at a time.
The environment information that appears is what has been uploaded through Change Assistant;
likewise, if nothing has been uploaded, there will be no environments available on this page from which to select.
Select the applications to which you want to apply the updates, then click Next.
If you are not using the applications or have not installed the applications, clear them.

Select from the following options:
Update Type :If you selected to search for updates not yet applied in step 1 of the Update Wizard, a page requesting information on the type of updates to search for appears.
Select the type of update to search.
• All Updates Returns all updates meeting the search criteria, regardless of the type of update. Updates that are included in bundles will not appear in the search results (if the bundle is displayed in the search results). Also, updates that are required for upgrade, will not appear in this type of search.
• Bundled Updates only Returns bundles that meet the search criteria. If requisites are included in the search results, it is possible that a requisite is not a bundle. Even though the requisite is not a bundle, it will appear in the search results.
• Tax or regulatory updates only Returns any tax or regulatory updates that meet the search criteria. • Required for completing a fresh install Returns any updates required for install that meet the search criteria.
• Documentation updates only Returns any documentation updates that meet the search criteria.
• Required for completing an upgrade Returns any updates required for upgrade that meet the search criteria. Updates required for upgrade only appear with this search option.
Date Posted
Select Anytime to search for all posting dates. If you select Within this time period, then select a From and To date using the date selector.
Include prerequisites and postrequisites not already applied to selected environment
Select to include all the requisites that have not been applied to the selected environment for the date and time criteria.
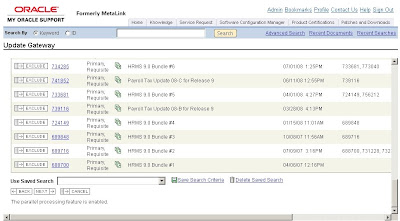

CLICK ON THE DOWNLOAD LIST TO EXCEL: (MAKE SURE YOU HOLD CONTROL KEY)
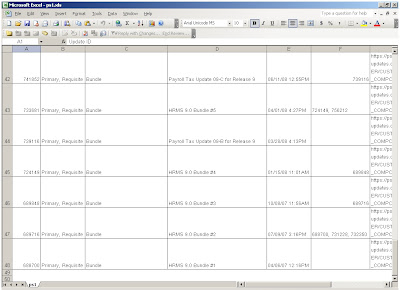
Analyzing Updates
Use the downloaded spreadsheet to:
• Review each update.
• Decide which updates you want to apply.
• Copy the update IDs into Change Assistant when you are ready to apply the updates.
The spreadsheet does not list the updates in order. Change Assistant will automatically determine the order in which to apply updates.